Wednesday, November 19, 2014

Cheat Sheet Printable!


I will admit that this post is just as much for me as it is for you!  I have most of my common recipes memorized but sometimes I can't remember an oven temp or the 2tsp vs 2TB (Well, let's be perfectly honest most days I call my kids by the wrong names so you can understand me forgetting a few measurements!!)

There are 2 versions for full color and black and white depending on your printer and/or your personal style.

Here are the recipes covered:

Waffles
Biscuits
Corn Muffins
Peanut Butter Cookies
Granola Bars
White Bread
7 Grain Bread
Crazy Cake

Remember that all of these great recipes are tried & true Dairy Free alternatives to enjoy with your family!  Be sure to visit the blog for other great recipes and ideas!


I can't seem to be able to get the pdf file to upload here to the blog.  I will try Google Docs or a few tutorials online.  In the meantime feel free to use these JPEG's to print or I can gladly email a pdf to anyone who wants it!  Just comment below or send me a message!!  Thanks for visiting!


Thursday, October 16, 2014

Fluffy 7 Grain Bread

Here we go with a new bread recipe.  This one has taken some work!  Have you ever tried most of the 7 grain recipes out there?  You might lose a tooth on some of them!  As much as we love my good ole white sandwich bread RECIPE HERE we wanted to save this luxurious bread for special occasions and start making our daily bread with less sugar and more whole grains.  So the search began..... most of the recipes called for 7 grain cereal to be added with bread flour but most cereals are packaged with Butylated hydroxytoluene (BHT) or slightly better Tocopherols (unless organic you can pretty much bet it's GMO corn or soy)  and those are ingredients we try to avoid for our own personal reasons.  I am not here to preach about our opinions nor sway yours just letting you know why I didn't use those recipes.  Our search continued and I came across this Organic 7 grain flour so we were thrilled! (I have not received any compensation or free products, just sharing my new find!) Then the test batches started.  Some were good, some were okay but after adding and tweaking we have come up with a fluffier than the usual 7 grain sandwich bread. 

This bread is not any more difficult that regular bread, which isn't difficult at all, but it requires a bit more patience.  The rising process is slower and really can't be rushed.  Trying to rush will cause the bread to become more dense.

Ingredients (Organic or not is up to you but as shown in pictures all of these are organic)

2 TB fine ground raw sugar
2 TB yeast
2 cups warm water
1 1/2 cups unbleached bread or all purpose flour
2 TB Vital wheat gluten
1/2 TB salt
1/2 cup olive oil
4 cups (give or take) 7 grain flour


Add yeast, sugar, and warm water to stand mixer and let sit for about 10 minutes.  You want your water to be warm like a child's bath.  Too hot will kill the yeast and too cool will not active them.


 Once yeast is activated I start by adding the 1 1/2 cups of AP or bread flour and the vital wheat gluten.  Give those a minute to incorporate then add the olive oil and salt.  This recipe also needs that extra kick of salt, without it the bread will taste sort of flat.


 Once those are incorporated start by adding about 3 cups of the 7 grain flour.  Once that is incorporated continue to add by 1/2 cup at a time until the dough becomes less sticky. (it isn't an exact amount, it can vary slightly from day to day or time of the year depending on the weather/humidity)  This part was tricky to get a picture but this bread gets thick at the end and the bottom of the bowl gets drier and the top is still tacky, so I flip the top down in the mixer and give it a few whirls around.


 Top picture is the tacky top, bottom picture is the bottom that has been turned to the top. 
 Once it whirls around it will stick to the hook and the sides of the bowl will be clean.  At this point oil a large bowl, remove dough from mixer and form into a 'ball' shape. 
 Place in oiled bowl and cover with a towel, then place the bowl in a warm location.  Set a timer for an hour because if you are like me you will lose track of time! 
 You really want this dough to double in size.  I have left it as long as 1 1/2 hours when I forgot to set a timer and it was really fluffy that day!  The only problem with letting it go longer is you run the risk of the dough drying a bit on the top.  I forgot to take a picture of the risen dough but it's almost the size of the bowl.  Punch it down then roll on to a lightly floured surface.

 My pans are 2 different sizes so I divide the dough to fit my pans. 
 I turn the dough cut side up and smoosh it down.
 Then I fold in both sides (hard to take a picture LOL) then roll the dough, slightly lifting as rolling to make the loaf tight.
 The great thing about homemade bread is that it doesn't have to be perfect!


This will make 3 small or 1 large and 1 small.  (my large pan is quite big)  Once again you will cover pans with a towel and let rise at least 45 minutes.  This bread will not continue to rise in the oven like the white bread does.  The size this goes in will be the size and density you get when it comes out of the oven. 
Here we go at 45 minutes.  This is actually when I preheat the oven and give it a few more minutes rise time.  However, if your oven heats slowly about halfway through rise time go ahead and preheat.  I also give the oven a few minutes after it beeps telling me that it's heated to 350 that way when the door opens it doesn't drop below 350 too easily.

 Now, cook time will depend on the size and type of pan you are using but generally speaking it should take 30-40 minutes.  My little loaf takes about 34 and large about 38 depending on the day.  The silicone pan needs no help, that loaf pops right out.  The metal pan can sometimes stick a bit so let the bread stay in the pan for 5 minutes after removing from the oven, then gently slide a metal spatula around the sides to loosen the loaf.  They 'should' cool completely before cutting but I rarely make it to completely cool and cut it slightly cool =)  Just make sure you have a good, sharp serrated knife. 


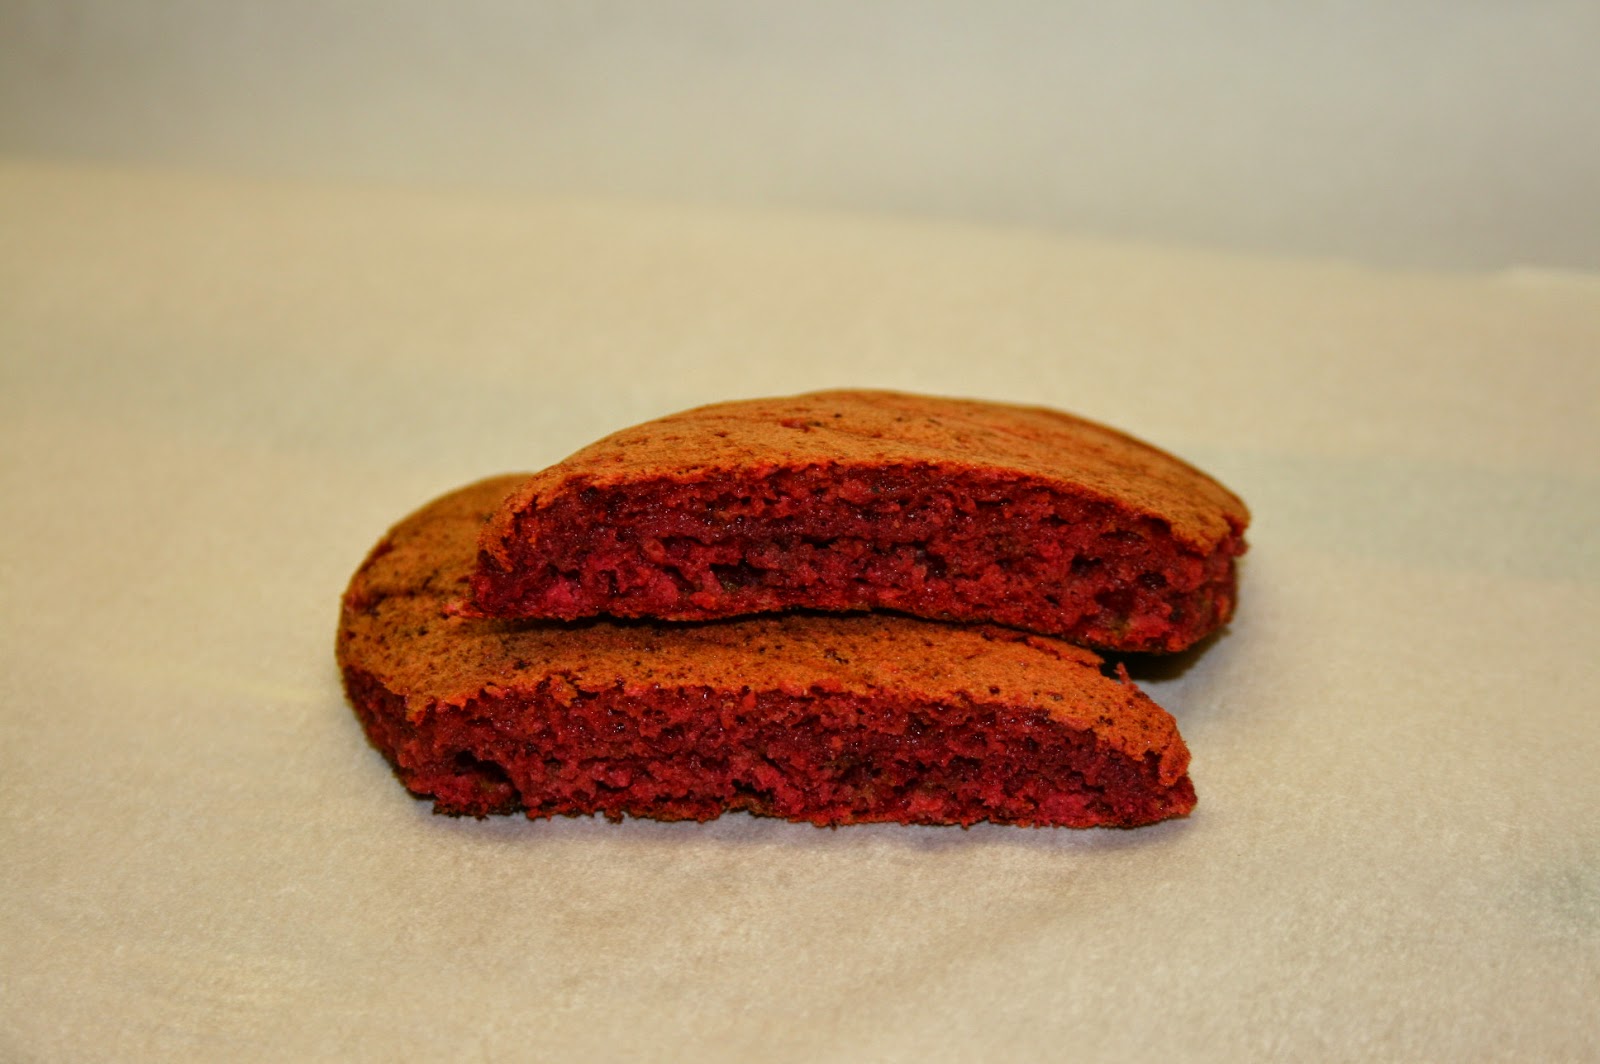
 As you can see this is pretty fluffy for 7 grain bread.  It also holds up well and works great for sandwiches!


Great River Organic Milling, Organic Seven Grain Bread Flour, Seven Grain Bread, 7 grain bread, recipe, sandwich bread, dairy free


Saturday, September 27, 2014

Red Velvet Pancakes/ Waffles


Have you ever woke up and thought to yourself "Man, I'd love to have some beets for breakfast!"   No?  Seriously?  Haha  ME NEITHER!  I do love beets just about any way they are served though. We are also extremely lucky that our kids (minus the 2 year old)  have no issues with any sort of vegetable.  We have a pretty strict rule of eat it or just be hungry.  The kids know that not everything has to be their favorite but they will eat their dinner.  We had some leftover beets from a few nights ago and I knew I wanted to try to incorporate them in some new ways.  I'll point out that normally there aren't even leftovers here but we cooked extra just to have leftovers, so for us that meant cooking 3 bunches!!  I had found several recipes on Pinterest, of course, for beet pancakes but they each had ingredients that we either don't use or just don't have on hand.  Here's the product of putting some ideas together and running with it! 

These are Dairy Free Red Velvet Pancakes (or waffles)  Bear with me as I learn lighting in the new kitchen!  I will also add that these are super duper fluffy and you could easily use 1 TB of baking powder.  These were so good that I had to make a 2nd batch this morning!

 Ingredients:

1 3/4 cup All Purpose Flour
6 TB sugar
2 TB Baking Powder
1TB cocoa powder
Pinch of salt
Appx 3/4 cup of cooked beets
 1 2/3 cup Almond Milk
1 Egg
3 TB Butter Substitute
1 tsp Vanilla
 Sift all dry ingredients

 Place beets and about 3/4 of your milk into blender and give them a good whirl until you don't see any large lumps.  Note: if you do have big lumps you can just remove them with a fork.  I have learned a trick for cooking Dairy Free as well.  When making baked goods it seems to work really well to beat lots of air into them.  This helps keep everything nice and fluffy!
 Add the mixture to a bowl then add the rest of your milk to the blender, replace lid, and shake to remove all of the beet.  Then you will mix the rest of the wet ingredients. 
 Then incorporate the wet into the dry without over mixing. 
 This was kind of thick but it's personal preference.  If you want your batter more runny just increase the milk in the beginning of the recipe. 
Whoa, lighting on this side of the stove is a little crazy!  Holy hot pink!  LOL  Once batter is mixed you can cook them on preheated griddle or waffle iron.
 The finished pancakes look a little brown once cooked but the inside is beautiful!
 Now just imagine these drizzled with a bit of chocolate sauce!  OH MY!!  It's a good thing I didn't have those ingredients because I would have eaten the whole batch! 
 They were perfect though drizzled with some local honey!

Friday, August 15, 2014

So it's been awhile......

Hey everyone!  We are (finally) settled out in the great Pacific NW!   We've spent the summer exploring and getting to know our new home.  I am working on some new ideas and recipes as we roll full steam ahead in to the fall and school and I have missed the blog a great deal!  Coming soon is a post about traveling cross country with kids, cooking most meals, NO fast food, and not losing your mind....... trying to come up with the clever title for that one (PS I'm open to suggestions!)  As well as recipes for vegan mushroom pizza, carrot cake pancakes, and seven grain bread.

Most of all right now I'd like to hear from you!  I'd like to start catering to what my readers want to hear about.  What do you want to see on the blog?  Organizing for school projects/homework?  Canning recipes & tips?  Just some pictures of how fabulous the Pacific NW is?!  Leave some comments, ask some questions...... or I can start a google + Hangout session.  Let's get this party started!!


Monday, April 14, 2014

Rice Flour Muffin/ Pancakes

Are you trying to figure out possible food allergies with your child?  Are you confused, frustrated, and a bit overwhelmed?  ME TOO!!  I came up with this recipe for a quick batter that works as pancakes or muffins and you can easily add to the recipe as you can reintroduce new foods or even to test new foods.  What's better for introducing something new than using something familiar?  If you've come across this recipe, odds are you have been scouring the internet looking for SOMETHING that might work. 

Here's a little back story, we have been dealing with trying to pinpoint allergen(s) for quite some time for a child under 2 years old.  Allergist won't do tests and I have been told that even if they did that those results are not 100% and give both false negatives and false positives.  The best method is elimination.  Well, what do you do when you eliminate the Top 8 allergens and your child gets worse?  You scour the internet some more for research and take papers to the doctor outlining your findings.  You try to pinpoint the culprit but you are exhausted and backed in to a corner.  This recipe is free of the Top 8, corn, meat, fresh fruit... you name it! So far these have been successful for us and I am excited to pass it along in hopes that it may help you!  I am just another mom, but feel free to leave comments or questions.  Need a sounding board as you search for your culprit?  Go ahead!!  I seriously don't mind.   You can also follow me on Pinterest here I have a few different allergy boards.

I haven't even used a measuring cup for these and it has worked every time!

Brown Rice Flour: about 1/2 cup
Hain Featherweight Baking Powder (corn free): about a tsp
Raw Cane Sugar: 1-2 TB
Water: just enough to get proper consistency
 Mix just enough water to make this a pancake like consistency.  (It will be light and almost bubbly)
From here you can spoon this onto a griddle and make pancakes.  (NOTE: be careful of cooking oils!  We think our little one has an issue here which is why I started baking these so there's no chance of cross contamination)

For muffins make sure you preheat your oven to 350 before you gather ingredients since batter takes less than a minute to throw together.  Spoon mixture into muffin liners to make them easier to remove.  Fill each of the remaining spaces with water.  This will help steam them as they cook.  They will not really brown but they will be firm when done (15-18 minutes)  They won't be too sticky the way some Asian dumplings can be but not quite a muffin.  It's a nice place in the middle.


 The baking powder gives them just a little bit of a lift so that they aren't dense.
 They are Kinley approved!! 

Wednesday, March 19, 2014

Allergen Free Chocolate Chai Cupcakes

Gluten Free, Soy Free, Peanut/Tree nut Free, Dairy Free, and CORN FREE!! 

A small twist on the Crazy Cake recipe!  Replace cold water with brewed Chai tea (cold) and add Chai spices to the mix!  Awesome!!  I did some experimenting today and I hope you like it as much as me!  We are no longer using White Distilled Vinegar (because of pesky corn) so I wanted to mask the more pungent flavor of the apple cider vinegar.  I'll tell you in advance that the icing pictured is not allergen free because we didn't have all of the ingredients needed to make it today.  However, you can easily adapt my other icing recipe found here by replacing the shortening with a product like Spectrum All Vegetable.  Today's recipe is a variation on the 7 minute frosting and super easy so if y'all are interested I can post that another day. 

 1 1/2 Cups Gluten Free All Purpose Blend
1 Cup Raw Sugar (blended to fine consistency)
1/4 cup Cocoa Powder
Pinch of Sea Salt
1 TB Cinnamon
1 tsp Baking Soda
1 tsp Nutmeg
1 tsp Cardamom
1 tsp Ginger
1 Cup Brewed Chai Tea (allowed to chill in fridge)
1 tsp Apple Cider Vinegar
1/3 Cup Oil (optional: if going to eat within an hour or two it isn't needed but if going to sit it is best to add it)
 Sift all dry ingredients then add in wet.  (For this I filled half of the liners then added oil to the bowl so I could test the difference)  You can not over mix this, so have a ball!  There's also no eggs so you can taste to see if you want to adjust seasonings. 
 Okay, this part is NOT corn free but is dairy free.  I added a few chocolate chips ;o) 
 All done and smell divine! 
Left side is oil free and the right has Olive Oil.  First impressions is that there isn't much difference in taste or texture.  However, as time rolls on the ones with oil retain their moisture much better.  If going to eat right away I would say it's safe to just omit the oil all together. 


Wednesday, March 5, 2014

Microwave Mug Cake using Oat Flour


Here's a super quick, super easy snack or dessert that takes minutes to put together!  No need to heat up the oven or make a huge batch of goodies to sit on the counter tempting you to eat them all!  This is also Gluten Free, Dairy Free, Egg Free, Soy Free....... did I miss any?  This is the base recipe and I will be posting several variations.  See how much I sacrifice to bring you all yummy recipes?  ;o)

 Ingredients:
5 TB Oat Flour
1/2 tsp Baking Powder
2 TB Fruit puree
1 TB Honey
1 TB Hot water
Dash of Cinnamon
Pinch of Salt
 The kids really enjoyed measuring and making their own dessert!  I actually didn't tell them what they were making, so the final product was super fun!  You can certainly buy Oat Flour these days in a regular store but it is super easy to make.  Just put your oats into a blender and whirl away until it is a powder.  We don't even have a 'proper' blender, just one of the ones marketed more for smoothies and it worked just fine.  We actually used apple & butternut squash puree but even just applesauce would work just the same.  The kids eat tons of fruit and veggies (thankfully) but I still sneak them in every chance I get as well!  I am good at hiding them bwhahahahaha   Back to the cakes, the biggest thing is making sure that everything is well mixed.  The flour likes to hide in little pockets around the edge of the cup.  Zap it on high for 1 minute.  Seriously, that's it!!  It will be SUPER hot, you have been warned!  These would be really cute garnished with some whipped coconut cream and some fresh berries...... I think I need to make a trip down to the kitchen now and try that out!  Oh, one more quick note: the original recipe called for 2 TB of honey and we only used one so these were more like a muffin and not too sweet.  If you want it sweeter, by all means add the extra honey..... I won't tell! ;o)
 Smells SO good!!
 Seriously YUMMY!!